A Guide to Blurring Images with OpenCV and Python
Want to know how to blur images with OpenCV and Python? Here's a quick guide with solid code examples
I'm a coder, blogger, and training architect for Kode Kloud. Follow me for content related to development and cloud.
If you're reading this, you're probably curious about computer vision or just starting out. You've come to the right place. In this tutorial, we'll learn to blur images using OpenCV and Python. This is one of many OpenCV tutorials I have here.
What is Blurring?
First off, let's understand what blurring is. Blurring is a process where we reduce the sharpness of an image by blending the colors of neighboring pixels. Basically, we smooth out the image, which can be useful for reducing noise, improving the overall look, or creating artistic effects.
How Does Blurring Work?
To blur an image, we need to apply a filter, which is simply a small matrix of numbers called a kernel. Don't worry if you don't know what a matrix is. Think of it as a grid of numbers. The kernel moves across the image, and for each pixel, it calculates the weighted average of the neighboring pixels' colors using the kernel values.
There are different types of kernels, and today we'll explore two common ones: the Gaussian blur and the Median blur.
Let's Write Some Code!
Before we start coding, make sure you have Python installed, and OpenCV set up. I prefer to use Python virtual environments for my projects, and it's easy to setup.
python -m venv opencvdemo
Here I am naming my environment opencvdemo but you can name it whatever you like.
Then, activate OpenCV:
In Linux or Mac:
source opencvdemo/bin/activate
In Windows:
.\opencvdemo\Scripts\activate
You'll need to install OpenCV. You can do that by using pip:
pip install opencv-python
Now, let's create a Python file and import the necessary libraries.
I named my script blurring.py.
import cv2
import numpy as np
Loading the Image
We'll begin by loading an image from your computer. Replace 'sampleimage.png' with the actual path to your image. (It can also be .jpg if you like).
image = cv2.imread('sampleimage.png')
Here's the sample I'm using. Feel free to use it yourself. Download it here
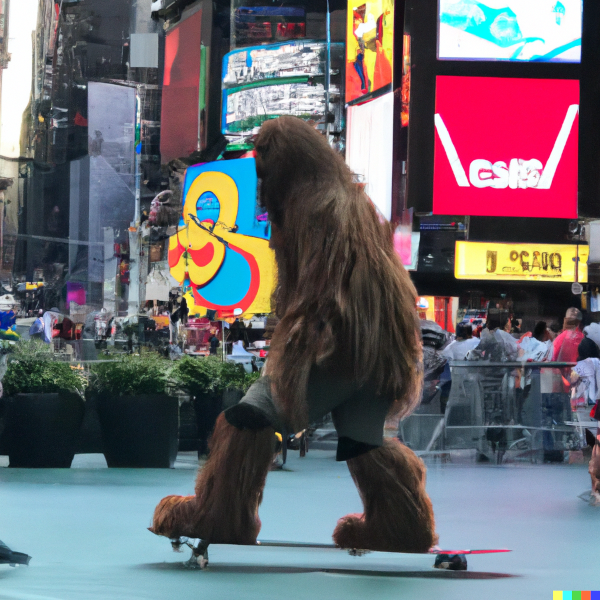
I generated it with Dall-E, so I don't own it.
Gaussian Blur
Let's start with the Gaussian blur. This kernel uses the Gaussian function, a bell-shaped curve that spreads the blur evenly around the pixel, making it look more natural.
To apply the Gaussian blur, we'll use OpenCV's GaussianBlur() function, which takes three arguments:
The input image.
The kernel size (width and height). They must be odd numbers.
The standard deviation (0 means it will be calculated automatically).
gaussian_blur_image = cv2.GaussianBlur(image, (11, 11), 0)
Now, let's display the original image and the blurred one side by side:
cv2.imshow('Original Image', image)
cv2.imshow('Gaussian Blurred Image', gaussian_blur_image)
cv2.waitKey(0)
cv2.destroyAllWindows()
And it looks like this:
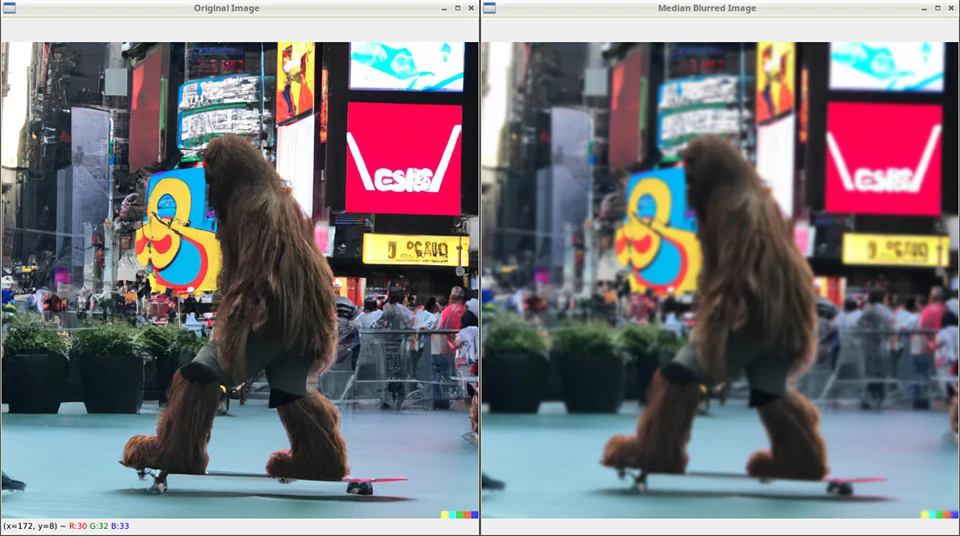
Awesome, right? Just a few lines of code, and you can blur images.
Median Blur
Now let's do a Median blur. This kernel takes the median value (the middle value in a sorted list) of the neighboring pixels' colors, which reduces noise while preserving edges.
We'll use OpenCV's medianBlur() function to apply the Median blur, which takes two arguments: the input image and the kernel size (an odd number).
median_blur_image = cv2.medianBlur(image, 11)
And once again, let's display the original and blurred images:
cv2.imshow('Original Image', image)
cv2.imshow('Median Blurred Image', median_blur_image)
cv2.waitKey(0)
cv2.destroyAllWindows()
Let's run it!
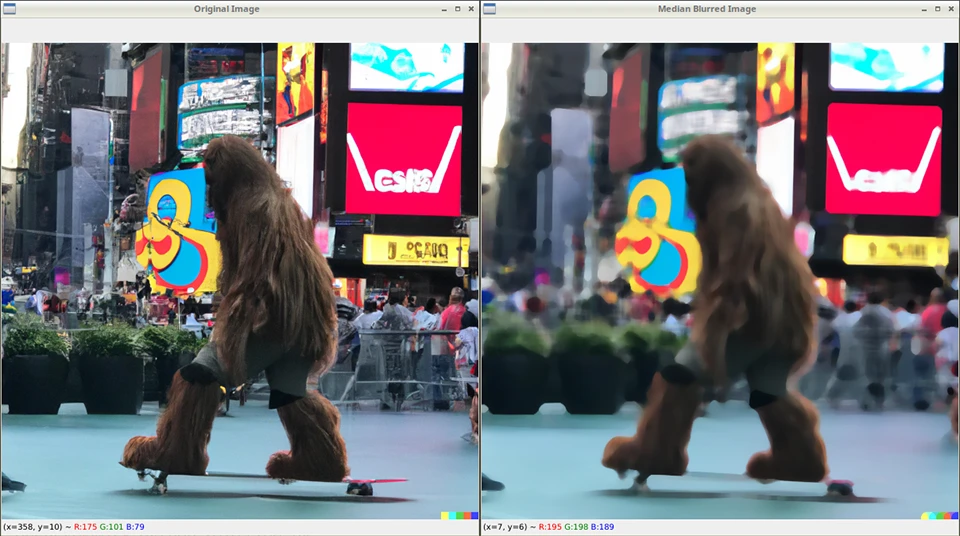
This is a different kind of blur you may want to use.
It's pretty easy stuff.
Saving Your Images
We know how to display these images on the screen, but that's only part of it. What if you want to save them? It's easy with this one line of code:
cv2.imwrite("output.png", median_blur_image)
Of course, you can change output.png to whatever you want.
We used the cv2.imread() function to read the image, then performed some modifications to it, and use cv.imwrite() to write it to a new image. Chances are, you'll want to use this later.
Summary
In this tutorial, we learned about
Blurring - what it is and how it works
Loading images with OpenCV
Gaussian blurs
Median blurs
Saving image after modification
Go ahead and experiment with this code. Change the kernel sizes and standard deviations to see how they affect blurring.
Remember, practice makes perfect.
You've unlocked a powerful skill in computer vision, and this is just the beginning! Often you'll want to apply a blur or other modifications before performing operations on an image, so now you know how.
There's much more to explore, like edge detection, object recognition, and even facial recognition. I'll be covering all these in future tutorials. The possibilities are endless.
Questions? Comments? Yell at me!
If you're into Computer Vision and other cool AI tech, you should subscribe to my AI Architect Newsletter to keep up with the latest stuff!