

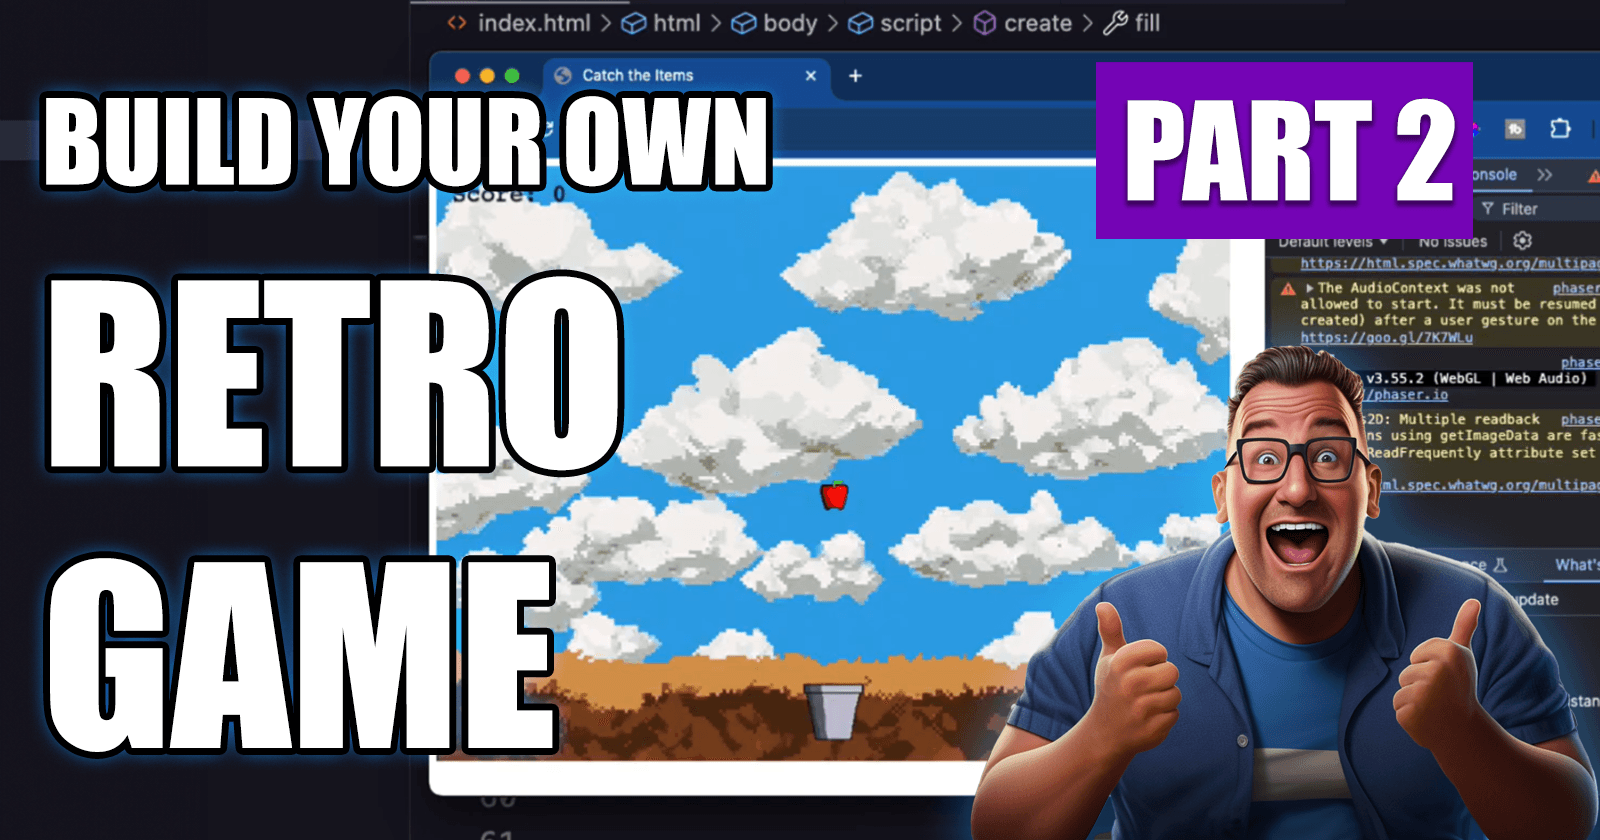
How to Make a Retro 2D JavaScript Game Part 2
Adding Graphics, Player Movement & Basic Gameplay Logic
J
I'm a coder, blogger, and training architect for Kode Kloud. Follow me for content related to development and cloud.
Search for a command to run...
Adding Graphics, Player Movement & Basic Gameplay Logic
I'm a coder, blogger, and training architect for Kode Kloud. Follow me for content related to development and cloud.
No comments yet. Be the first to comment.
Show you how to make a 2D Retro style game with JavaScript
Scoring, Difficulty, and Retro Feel Enhancements
One of my favorite things about F1 racing is the data behind it. F1 cars are the most complex and advanced in any racing series. They collect huge amounts of telemetry data. The tracks also gather dat
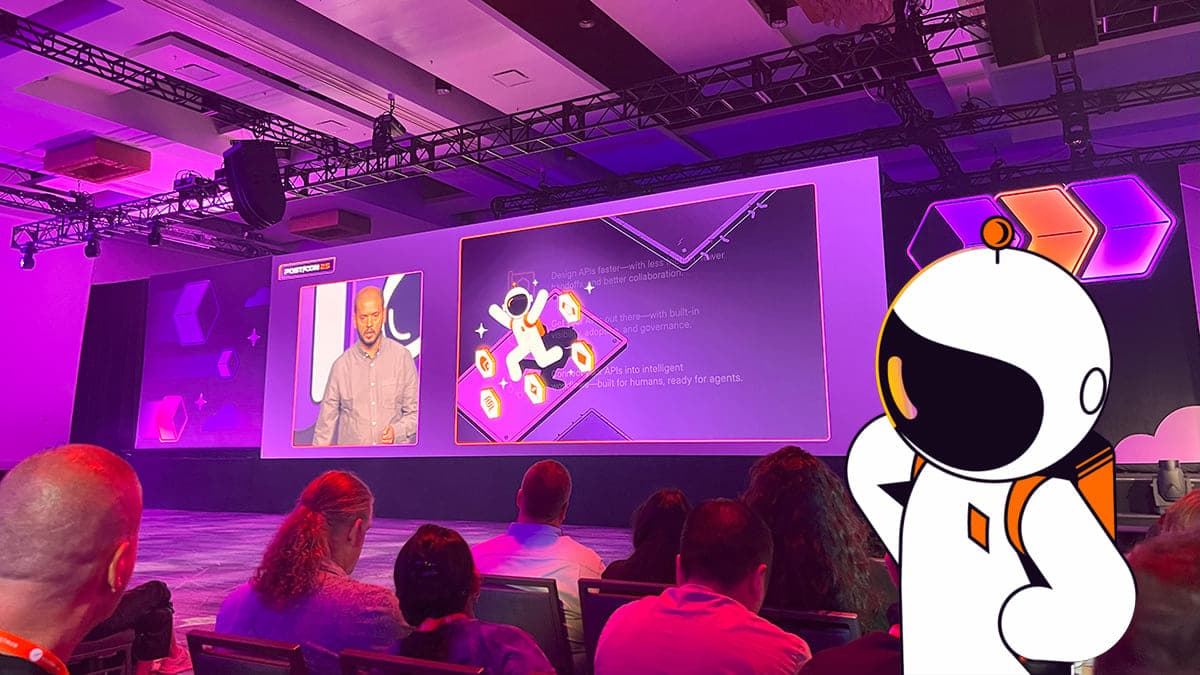
I just returned from POST/CON 25, and I’m left with one big impression: Postman gets it. They get that we’re not just managing APIs. We’re building complex systems, and increasingly, those systems involve AI. And as AI technologies race ahead Postman...
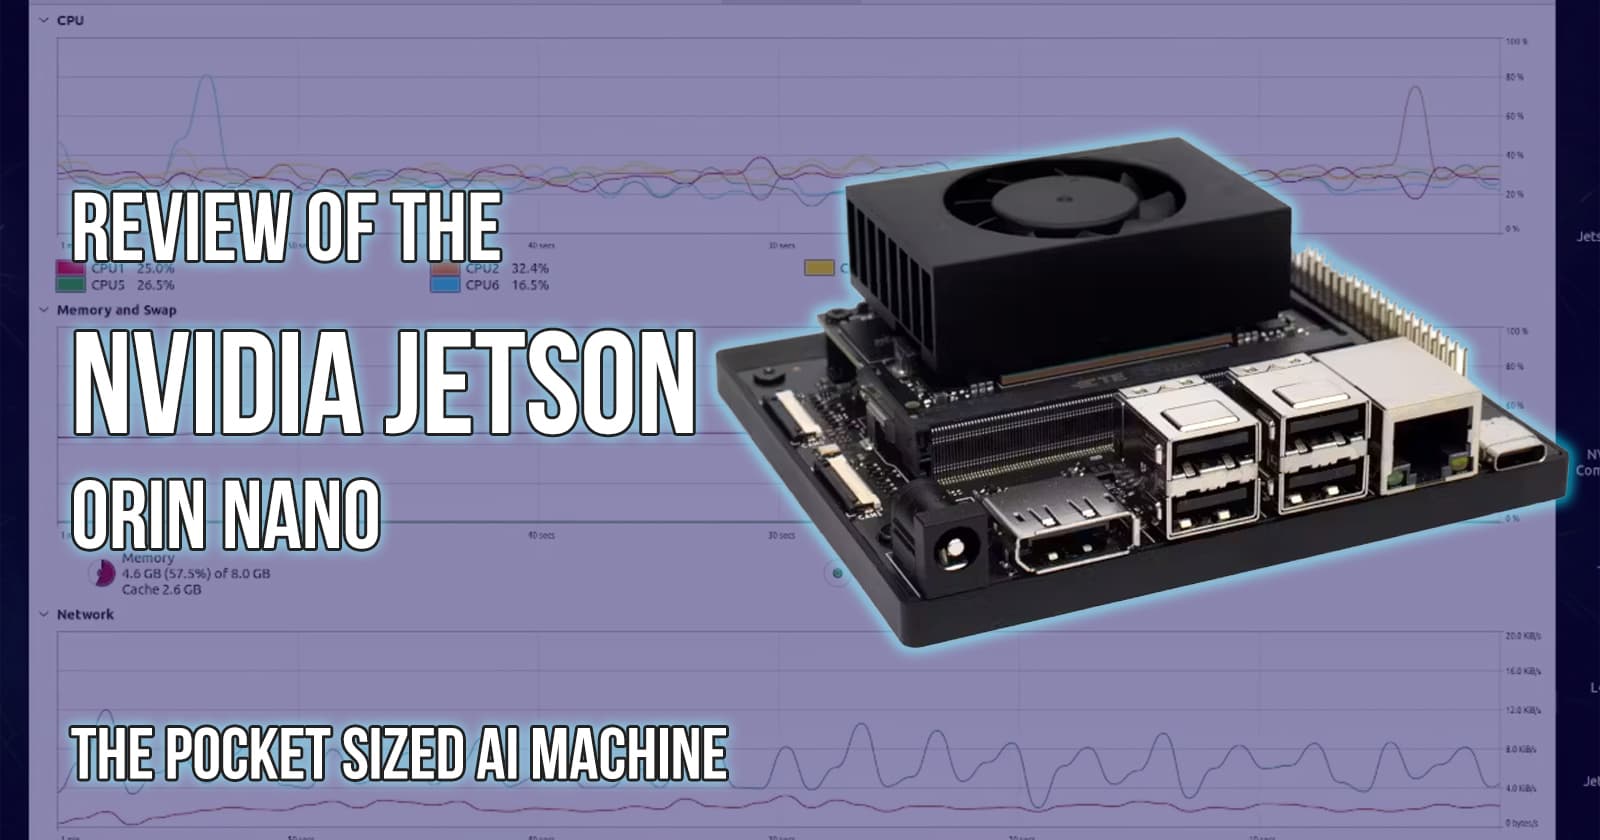
Hello, friends! If you’re a reader of this blog you’ve probably heard about NVIDIA’s Jetson. It’s a great platform for prototyping apps and putting AI at the edge. I got lucky and got my hands on the newest, very affordable Jetson, the Jetson Orin Na...
Scoring, Difficulty, and Retro Feel Enhancements
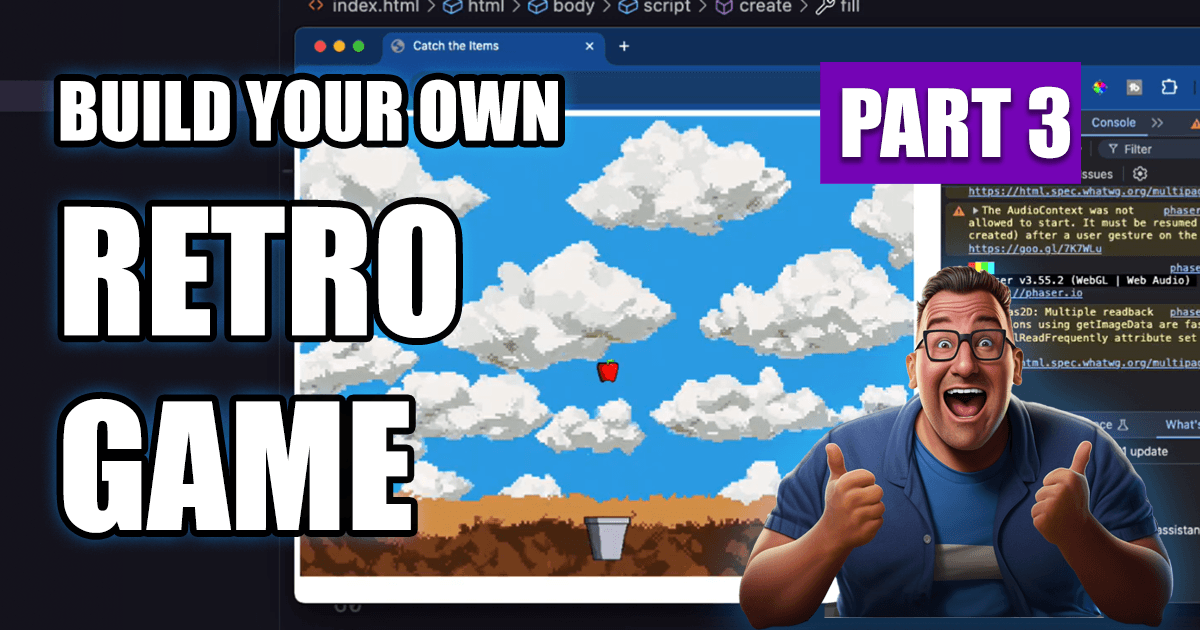
Let’s make this game interactive! We’ll add a player, movement controls, and falling items.
Note: If you'd rather have a video tutorial, here it is:
The full source code is here. Here’s a playable version of the final game.
Update the create function to add shapes representing the player and falling items:
function create() {
    // Player (Blue rectangle)
    this.player = this.add.rectangle(400, 550, 50, 50, 0x0000ff);

    // Falling item (Green rectangle)
    this.item = this.add.rectangle(400, 50, 50, 50, 0x00ff00);

    // Enable physics
    this.physics.add.existing(this.player);
    this.physics.add.existing(this.item);

    // Player controls
    this.cursors = this.input.keyboard.createCursorKeys();
}
Add movement logic to the update function:
function update() {
    // Move player left
    if (this.cursors.left.isDown) {
        this.player.x -= 5;
    }
    // Move player right
    else if (this.cursors.right.isDown) {
        this.player.x += 5;
    }
}
We need to update our config:
change:
   type: Phaser.AUTO, // Auto-detect WebGL or Canvas
   width: 800,        // Game width
   height: 600,       // Game height
To this, to add physics and gravity to our scene.
type: Phaser.AUTO,
            width: 800,
            height: 600,
            physics: {
                default: 'arcade',
                arcade: {
                    gravity: { y: 0 }
                }
            },
Make the falling item reset its position when it reaches the bottom:
function update() {
    // Move falling item
    this.item.y += 3;

    // Reset item position
    if (this.item.y > 600) {
        this.item.y = 50;
        this.item.x = Phaser.Math.Between(50, 750); // Random x-position
    }

    // Check for overlap
    if (Phaser.Geom.Intersects.RectangleToRectangle(this.player.getBounds(), this.item.getBounds())) {
        console.log('Caught an item!');
        this.item.y = 50;
        this.item.x = Phaser.Math.Between(50, 750);
    }
}
Now you'll see a screen that looks like this: and you should see green blocks falling. You can also move the player with your arrow keys:

📝 Recap: You added player movement, falling items, and basic collision detection. Your game is interactive! Now on to part 3
Note: If you'd rather have a video tutorial, it’s available here.